
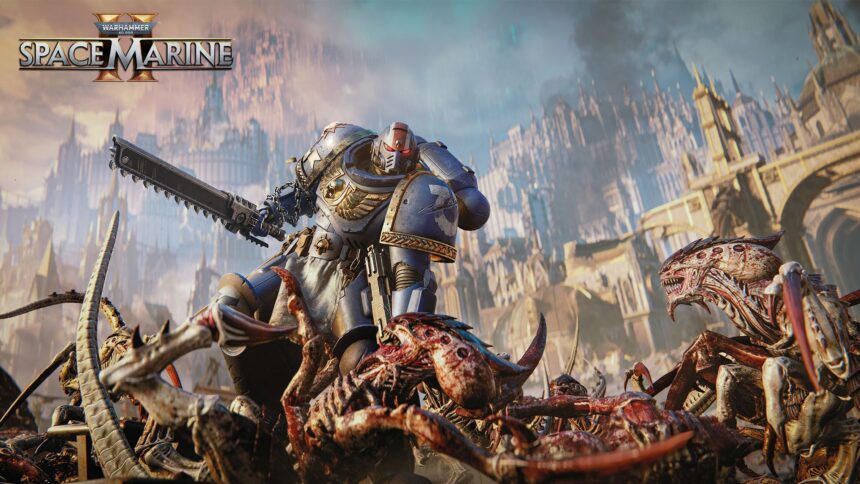
As anticipation builds rapidly among enthusiastic crowds, the eagerly awaited cinematic sequel finally arrives after more than a decade of fervent expectation, poised to surpass lofty expectations. Throughout its three primary modes, the product consistently meets expectations by providing an abundance of engaging content, offering users a rich and immersive experience. As the game’s complexity unfolds, various disparate elements converge to create its engaging core mechanic. To help you fully grasp this mechanism, let’s cover some key points to keep in mind as you delve into.
In this third-person shooter, influences from the series are evident, but with a key difference: no emphasis on cover-based motion. Instead, the game has incorporated hack-and-slash elements, which quickly become integral to the experience – and neglecting these aspects won’t sustain you for long. Regardless of the melee weapon at hand, it is crucial to deploy it strategically, whether to carve out a path through dense crowds via heavy assault or simply to conserve precious ammunition, a resource the game demands you manage efficiently. In some situations, a well-timed melee attack is crucial, rather than simply being an occasional inspiration – so don’t neglect the importance of knowing when to fall back on this tactic, especially when facing challenging circumstances?
One key aspect that makes melee combat integral to its gameplay is the significant emphasis placed on executing precise dodges and parries, which requires quick reflexes and strategic timing. When engaging with foes on diverse occasions, you’ll often encounter enemies that prefer to stand at a distance and remain elusive; in such cases, one effective tactic for managing them is frequently to parry their attacks. By executing maneuvers at the optimal moment, you create opportunities to strike individually or, when faced with overwhelming enemy forces, secure enough distance to reposition yourself safely. Ultimately, certain attacks cannot be deflected; instead, they’re signaled by a prominent red warning symbol hovering above the enemy, prompting you to dodge them at the very least.
Given your experience as an Area Marine, it’s only natural that the instant-by-instant gameplay is always extremely aggressive, even when you’re engaging in defensive maneuvers like parrying or dodging. By allowing for specific post-parry and dodge actions, it partially accomplishes this goal while also encouraging precise timing, as successful execution of these maneuvers rewards optimal timing. Swift footwork enables players to seamlessly transition into a dominant position, capitalizing on fleeting opportunities for precise, close-range pistol shots that culminate in swift kills. Furthermore, the ability to execute defeated foes by pressing R3 not only awards a recovered armor slot but also reinforces strategic adaptability.
Can pose an unexpectedly stubborn challenge, frequently throwing you into the midst of daunting battles against immense, relentless swarms of foes that can feel overwhelmingly daunting at times. By balancing your long-range and close-quarters attacks, you can effectively utilize your existing arsenal, leveraging the environment to your advantage when necessary. Throughout the fundamental explosive red crates to blue crates that immobilize enemies, you can generally expect them to provide some assistance by incorporating environmental dangers into the mix. While navigating complex projects, it’s always prudent to identify potential chokepoints that can be leveraged to efficiently direct and control the flow of tasks should circumstances require swift adaptation.
This affinity for grouping adversaries together in concentrated clusters, often resulting in a compacted mass of foes in a relatively small area, is typically an indicator that it would be advisable to unleash a grenade upon this constricted gathering. While that’s just the beginning, the proliferation of grenades will undoubtedly become a crucial aspect of your gameplay strategy. While grenades are invaluable in crisis situations, their limited availability underscores the importance of conserving them for optimal deployment, as the game does not liberally distribute grenade pickups. Various types of grenades are available for strategic deployment, including conventional fragmentation devices, electrical shocking agents, adhesive explosives, and remote-detonatable munitions, each offering distinct advantages and applications.
While playing on its default difficulty level or even the regular problem stage, it’s advisable to approach the use of health stimulants and grenades with greater deliberation. Why? Because they’re not easily accessible, the game doesn’t dispense health stims freely at all, implying that using one if you’re already halfway down your health bar isn’t a particularly effective approach. In the intense world of this sport, athletes often find themselves in precarious situations where quick decision-making is crucial. As such, judicious use of health stims becomes a vital component of survival.
While seemingly straightforward, this crucial aspect may easily be overlooked due to its implicit nature within the sport. Throughout your progression, various containers are strategically dispersed, awaiting destruction and yielding valuable rewards in the form of ammunition, health-restoring stimuli, and explosive projectiles. When encountering containers, consider providing them with a substantial rope swing opportunity.
In co-op mode, players can expect to face genuinely challenging scenarios, despite the typically linear progression of the missions listed here, which share a similar structure with the marketing campaign. However, these operations also offer opportunities for exploration and discovery. As exploration unfolds, discoverable offshoots and hidden pathways reveal themselves, beckoning investigation. Unearthing these secrets can lead not only to essential pickups for health or ammo but also to rare, uniquely buffed items, such as the Relic, which instantly revives you upon falling.

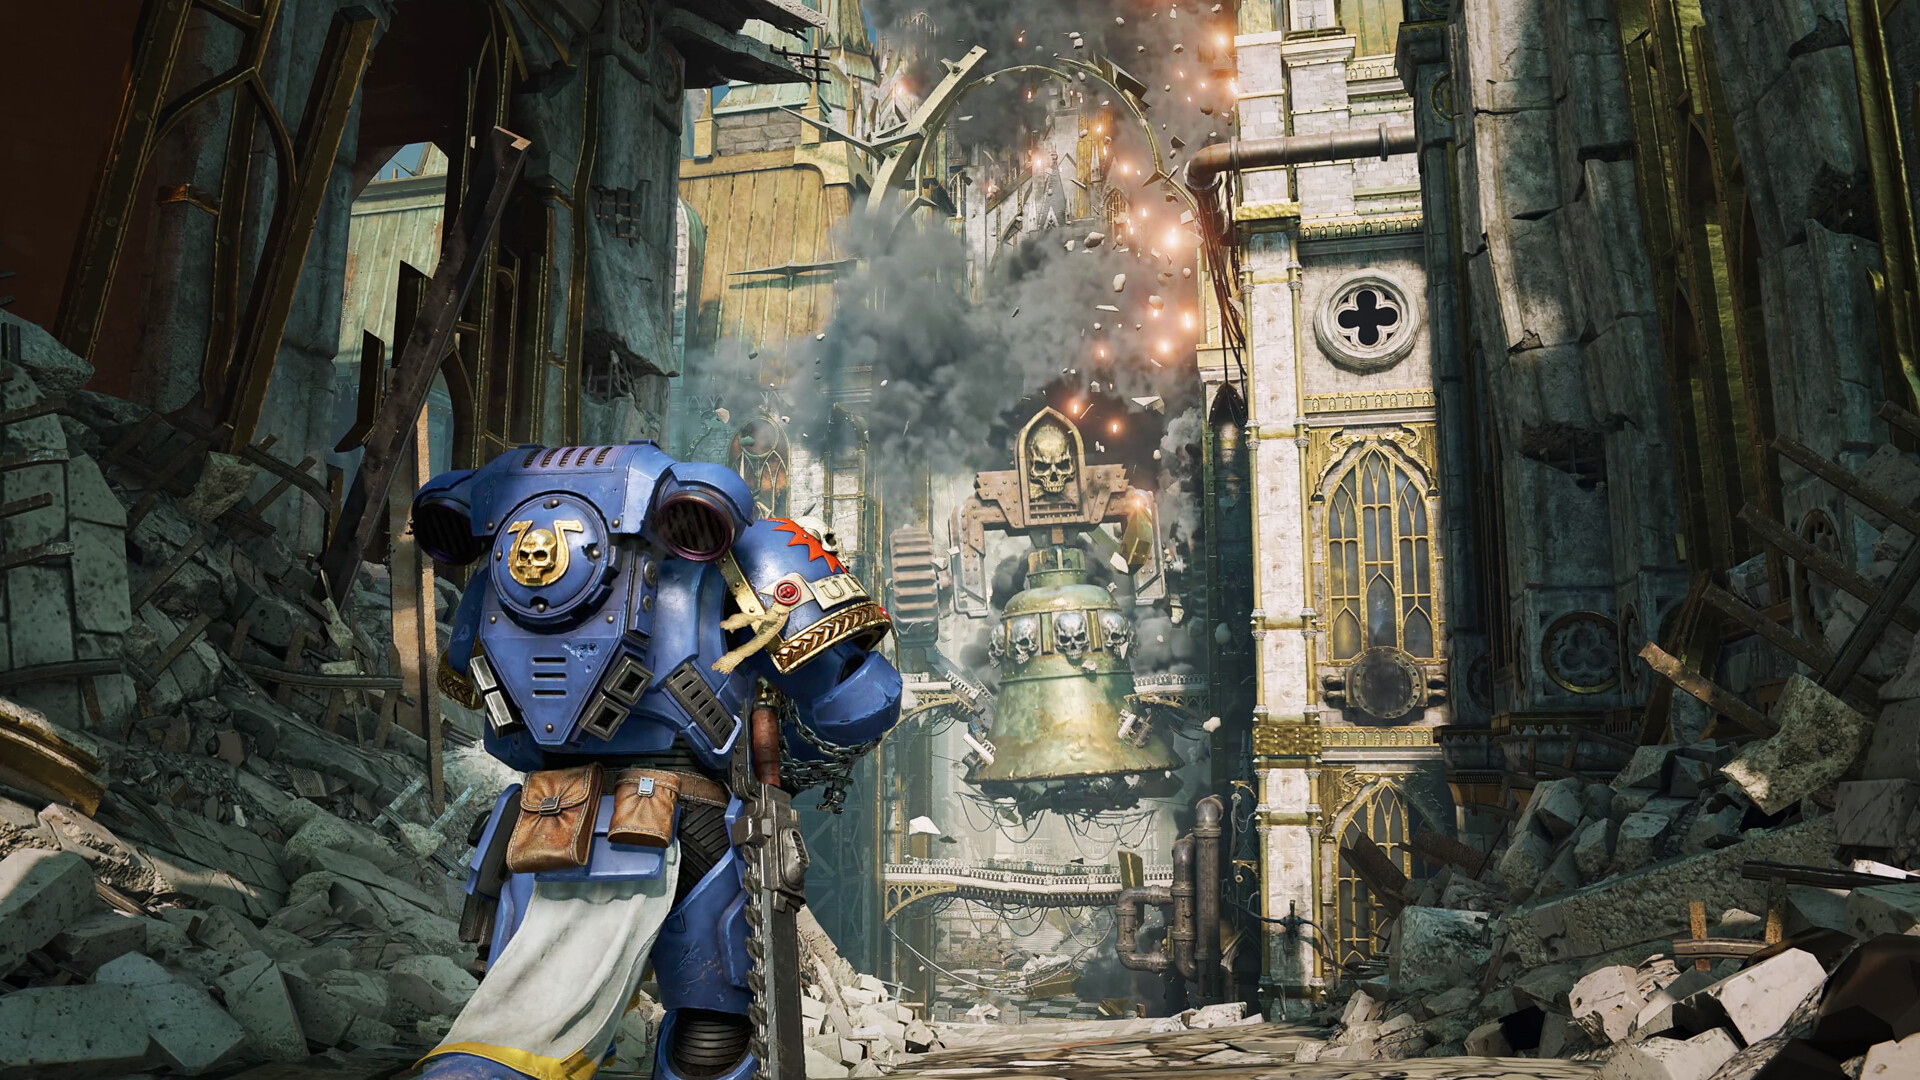
Though action-packed sequences drive this story forward, subtle narrative threads are woven throughout, offering a richer experience beyond the main plot. Throughout the marketing campaign and operational spheres, numerous information slates are dispersed, offering insight into the narrative via audio logs that disclose new story elements, provide background information, and offer additional context. That’s another incentive to explore surroundings with a keen gaze.
Gamers can choose from six distinct classes in Everlasting Conflict and Operations, each with its own unique abilities and specializations. Additionally, the campaign mode offers three playable characters for co-op play, each with a distinct set of skills and special abilities that can be leveraged during gameplay. The Titus’ Righteous Fury capacity demonstrates increased harm output while simultaneously regenerating well-being for its wielder. In contrast, the Assault class’ Iron Halo capacity deploys a brief shield that completely blocks any incoming projectile attacks. As you likely recognize, these skills will be especially valuable when made accessible for utilization, and it’s crucial to employ them at opportune moments.