

While the game has a straightforward storyline, it’s notable that numerous hidden sections and formidable adversaries add depth and challenge to the experience. Not only do they provide rewards like Will, crafting supplies, and Curios, but also play a crucial role in unlocking the true ending of the story. Discover 15 Surprising Hidden Features You Never Knew Existed
In Chapter 4, the enigmatic twin-blade-wielding Venom Daoist makes a comeback, but only if players are aware of his hidden location. Proceed to the Docket of Illumination situated within the majestic Temple of the Yellow Flowers. From the sacred shrine, navigate through the ancient archway that lies directly behind, beckoning your approach. As you continue along the winding staircase, the path diverges at the second landing. Turn left, ascend the stairs, and immediately take another left turn. As the massive cave materializes before you, its entrance beckons, urging you to venture forth and confront the enigmatic Venom Daoist within. The anticipation of another intense battle hangs in the air as you step into the unknown.
Following their triumphant declaration, the leader’s gaze drifted towards the mural adorning the adjacent wall, their hand sweeping outwards in a subtle gesture as they spoke of Purple Cloud Mountain. Unlock the secrets of Purple Cloud Mountain, Chapter 4’s hidden realm, by collaborating with its enigmatic portrayal? As you take in the breathtaking scenery, beware that a formidable and elusive foe lies in wait.
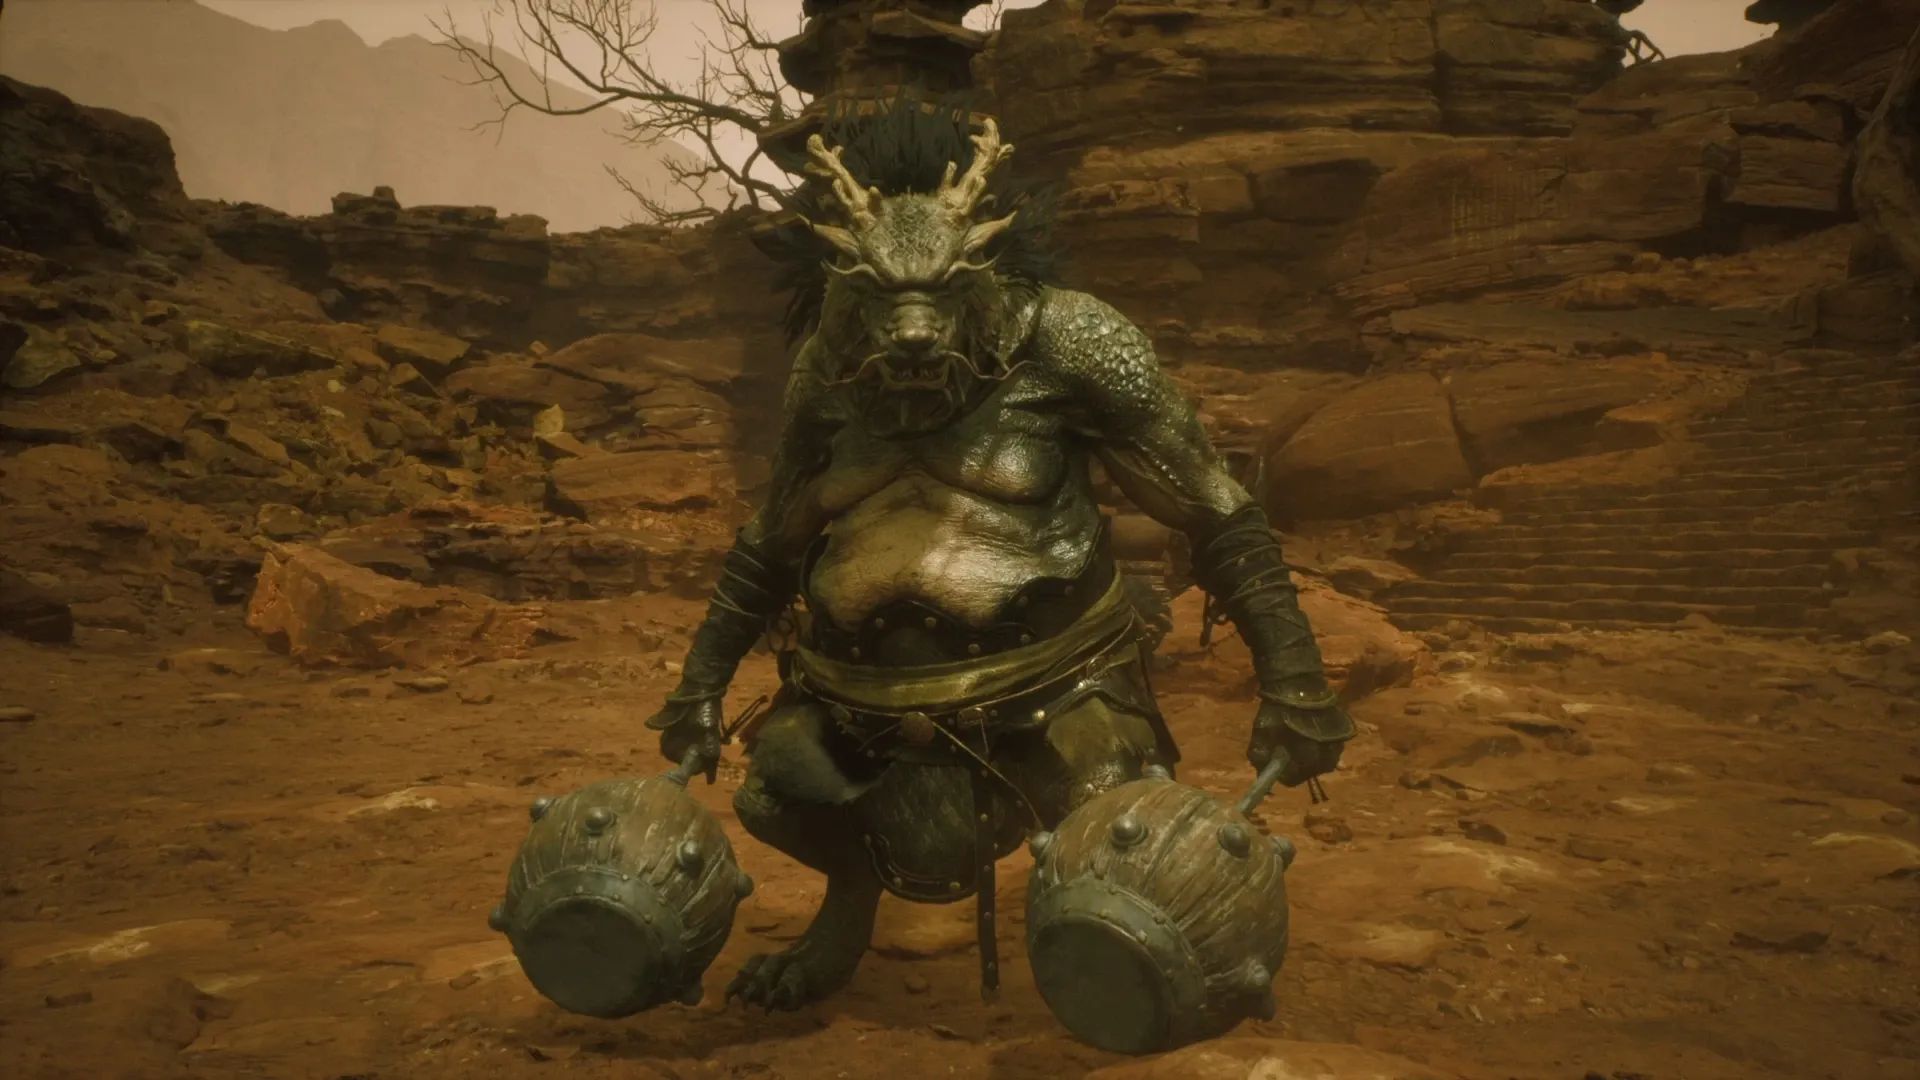
Among the numerous formidable bosses that adventurers encounter, the Scorpionlord stands out as a menacing entity deserving of caution, with its potent poison a major concern. You will find him standing before the sacred Shrine of Deity’s Bounds, calmly waiting nearby. Initiate chaos by demolishing the barrels beneath your feet, sparking a furious battle.
If the formidable Scorpionlord proves too challenging, a similarly daunting foe lies in wait atop Red Cloud Mountain. Will I finally reach the elusive Duskveil? Capturing this formidable foe yields a bounty of prizes, including the coveted Double-combed Rooster Blood Soak. This rare elixir, when consumed, effectively purifies any toxic effects from using the Gourd, also amplifying your movement speed and crucial strike chances.
The defeat of various secret bosses is intricately linked to the Drunken Boar facet quest, accessible through an NPC located in Chapter 2 on Fright Cliff. To complete this quest, you must venture to Windrest Bridge and retrieve the Sobering Stone. Once in hand, present it to the boar, and subsequently make your way to the Crouching Tiger Temple to re-encounter this pivotal figure. Following the gift of a Jade Lotus, proceed to the desolate Valley of Despair within the treacherous Sandgate Valley to confront and vanquish the formidable First Prince of Flowing Sands.
Upon returning to Fright Cliff, you’re reunited with the Yellow Robed Squire, where your encounter commences anew. If you failed to defeat the First Prince, he won’t remain hostile; therefore, ensure that you’ve already overcome him before proceeding.
Exiting your approach makes an enemy out of the Yellow Robed Squire because it is a fundamental shift in perspective. As a consequence of this not being the tip of the iceberg, after all? After conquering your adversary, proceed towards the imposing gate and enter the realm that leads to the enigmatic Kingdom of Sahi, a mystical domain shrouded in secrecy. That’s where you’ll find a distinctly different version of the Tiger Vanguard. Because of this, the protagonist decides to take action and proceeds to deliver a crushing defeat to his opponent.
However wait, there’s extra. Pursuing the Tiger Vanguard, you’ll eventually encounter an NPC perched atop a precipitous cliff overlooking a colossal drum. After defeating the drum, Fuban, the final boss of this facet quest, will likely emerge from the desert’s depths to confront you. Capture the Wind Tamer vessel, and you shall receive it as a reward, along with the coveted Sky-Piercing Horn crafting materials.
Purple Loong, one of several early bosses unveiled for the game, along with its melee-focused counterpart, Black Loong, are two additional hidden bosses not immediately accessible to players. Fortunately, these types of opportunities are relatively easy to find. Return to the Valley of Despair, a world where the memories of your battle against the First Prince of Flowing Sands still linger.
Stand in front of the wall where you launched yourself from and harness the power of your Wandering White Spirit Ability to shatter through, uncovering the coveted Loong Scales. Venture into the heart of the forest, where the whispers of wolves echo through the trees. Seek out the majestic waterfall that lies hidden deep within the woods, its misty veil shrouded in mystery. As you approach, a fierce battle awaits – engage with the formidable Purple Loong and join forces to conquer this ancient foe. Obtaining a victory over this opponent rewards the Boshan Censer Curio, which provides a percentage-based harm reduction bonus when your Gourd is depleted, allowing for more effective combat tactics.
Explore the Fright Cliff at Rockrest Flat, where you’ll discover a hidden staircase that ultimately leads to a breathtaking sand cascade. Together with the team, we venture forth to discover a fresh frontier where our leader awaits. Upon vanquishing this formidable foe, players are rewarded with the Tridacna Pendant, a valuable asset that hastens the recharge time for all Spirit Abilities in their arsenal. Crafting Longwreathe Workers using supplies from each dragon? While the damage potential is significant at 21,000, this ability’s unique effect will amplify the detrimental consequences of all Pillar Stance attacks.
The mechanized knight with the explosive projectile-spewing arm, as glimpsed in promotional footage? Meet Elder Jinchi, a clandestine figure with the aura of a secret boss. You will encounter him in Chapter 1 within the hidden confines of Historic Guanyin Temple’s grand chamber, shrouded in secrecy.
Uncovering this elusive secret necessitates striking a harmonious chord by coincidentally ringing three ancient bells strategically located in three formidable arenas: Guangzhi amidst the treacherous Forest of Wolves, Guangmou within the serene Bamboo Grove, and the enigmatic Whiteclad Noble situated in the mystical Snake Path and Marsh of White Mist. Ringing all three bells will instantly transport you to face Elder Jinchi, whereupon claiming victory will earn you the coveted Fireproof Mantle.
Following the defeat of the Stone Vanguard in Rockrest Cliff during Chapter 2, a second formidable foe awaits in the same location. Nonetheless, obtain six rare and mysterious Buddha’s Eyeballs to initiate the ritual. The two missing fragments of the ancient text will be found inside the Squall Hideout nestled within Rockrest Cliff, while the remaining pair can be discovered in the open expanse of Rockrest Flat. As you’ve collected all six, proceed to the Stone Vanguard’s stronghold and dispatch the artifacts to their resting place among the rocks featuring humanoid visages. Shigandang emerges, now fully capable of combat. Obtain a Thoughts Core and the Skandha of Feeling by defeating it.
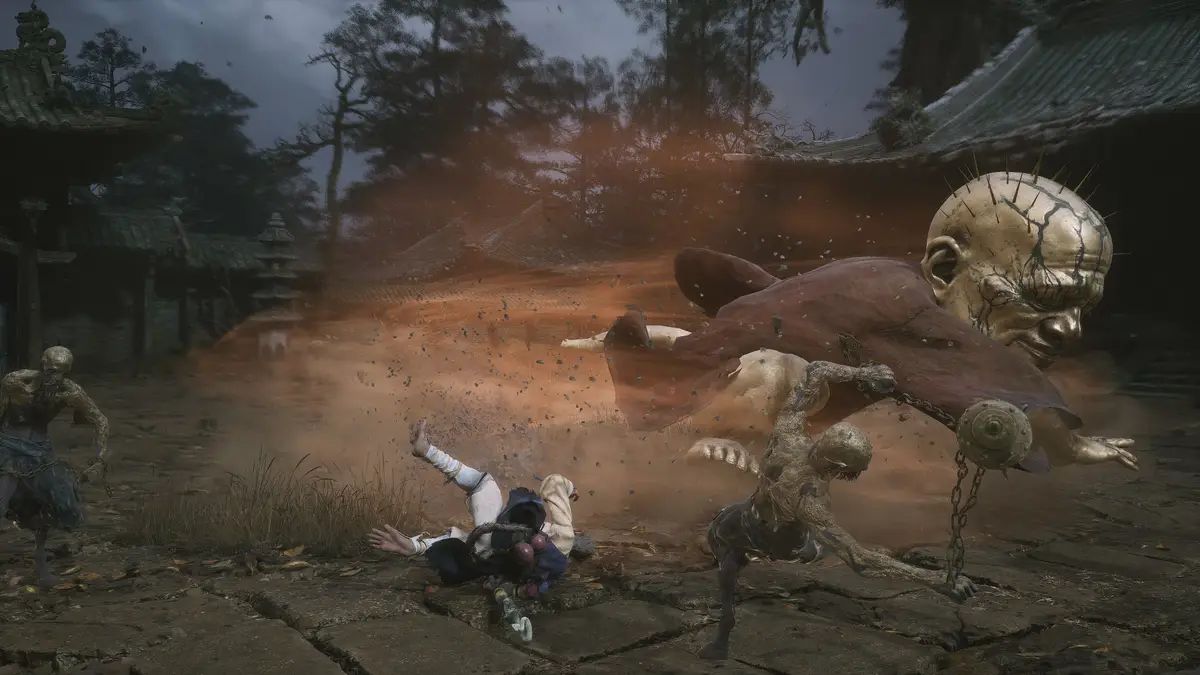
To access this boss, it is crucial to have previously defeated the Tiger’s Acolyte at Windrest Hamlet in Chapter 2. The upgrade grants the Outdated-Rattle Drum, which should be deployed in three distinct locations: the Yellow Wind Formation’s Windseal Gate, Windrest Hamlet, and the entrance to Sandgate Village. As the villagers scatter in alarm, a cinematic sequence unfolds outside, beckoning you to jump into the fray and track down the elusive Mad Tiger, readying yourself for an epic confrontation.
On the North Shore of the Bitter Lake, you’ll meet the enigmatic Treasure Hunter NPC, who is also known to appear in the Valley of Ecstasy’s Forest of Felicity within Chapter 3. Can you guarantee the Ring of Hearth spell will be available once you find him, or else he’ll succumb to hypothermia and perish? Let the ancient words of power resound through the air, seeking to reconnect with the mystic. Upon spawning, proceed directly to the Forest of Felicity shrine without hesitation. At the base of the slope, navigate downward along the path to your left until you arrive at a tranquil lake, where a majestic monolith stands sentinel.
Descend the cliff face to your right, pivot sharply to the left toward the imposing tree trunk, and plummet downward until you reach the Melon Field shrine. Surmounting the preceding terrain, one arrives at a colossal cavern where the formidable Green-Capped Martialist boss patiently awaits. Upon defeating it, a cinematic cutscene plays out, subsequently granting you the coveted Spell Binder.
Visit once more the Forest of Felicity shrine, yet converse with someone near the entrance archway instead. After sufficient interactions, you’ll transform into a fox, earning the coveted Snow Fox Brush that enables this metamorphosis. Sufficient progress unlocked access to the esteemed New Thunderclap Temple, where a radiant crimson artifact awaits discovery at its entrance. Draw close to the object, triggering a fierce battle with Captain Kalpa-Wave, before entering the structure.
Proceed directly until you encounter a smaller temple; enter through its main entrance and depart via the alternative exit. Proceed to the left side, take three steps, and then turn right into a doorway where you will find a set of stairs. Descend these stairs, taking care not to trip or misstep. At the bottom, look for another set of stairs leading further down, which you should then navigate carefully. Ascend the stairs by proceeding through the construction site in a forward direction and maintaining your position along the designated path. Step out onto the balcony and proceed directly towards the adjacent entrance. What kind of unique adventure are we embarking on today? Let’s carefully wield the Snow Fox Brush to craft a revised text that sparks curiosity and invites exploration! Engage in intense Non-Void combat from within. Retrieve the enchanted comb from the mystical Forest of Felicity. By acquiring a Curio, you’ll extend the duration of Transformations when equipped.

The true leader of the Discipline of Hearth in the Flaming Mountains is not the formidable Flint Vanguard. Journey swiftly to the scorching hot Fallen Furnace Crater, where you’ll encounter the magma worms emerging from the depths to launch a brutal attack. To claim Flame Ore, defeat the enemies that block your path and collect four pieces. Then, follow the same route as before, this time accompanied by a massive boulder.
A newly uncovered pathway to the elusive Flint Vanguard now lies before you, requiring that you traverse its original location, ultimately leading to a radiant crimson portal. If you’re fortunate enough to keep R2 in working order while shipping Flame Ores, a hidden boss, the Mother of Flamelings, is triggered to appear. As she releases her grasp on reality, a shimmering Samadhi Hearth Crystal falls from her fingers, accompanied by the enigmatic Knot of Voidness and a significant portion of her vital force – her Will.
Within Chapter 3 lies a discreet hideaway serving as a hub for service providers of various kinds, where each NPC from across the game can be found. You’d need to pinpoint this location upfront to sidestep unnecessary detours and minimize the frequency of rapid commutes. How do you discover it? To properly complete a quest, you need to fulfill its requirements. Near the coastal periphery, vanquish Chen Loong.
Having vanquished the formidable foe, engage with all available conversation options before proceeding to Xu Canine’s location. After the conversation, he will present the Fortifying Medication and Bone-Enhancing Pellet. Reconnect with Chen, who will guide you to the enigmatic Zodiac Village. Upon defeating the Blacksmith, you’ll unlock a third Curios slot and, upon emerging victorious, claim the Ebon Circulation Transformation as your reward.