


Historic Tomb of Nanjo is a kofun in Murderer’s Creed Shadows, positioned within the western a part of the Yamashiro province. Like the sport’s different kofuns — as an illustration, Makino Kurumakuka Kofun in Izumi Settsu — it’s primarily a darkish maze with some uncommon loot on the finish.
On this Murderer’s Creed Shadows information, we’ll provide you with a full Historic Tomb of Nanjo walkthrough, together with a step-by-step by the dungeon and noting its rewards.
Historic Tomb of Nanjo kofun location

Picture: Ubisoft Quebec/Ubisoft through game-feeds
The Historic Tomb of Nanjo is in Yamashiro, and is simply west of the southernmost a part of Kyoto, northwest of Shoryuji, and northeast of the Eagle’s Nest synchronization level.
Notice that it’s a must to play as Naoe to finish Historic Tomb of Nanjo, as you’ll want her grappling hook to progress previous sure obstacles.
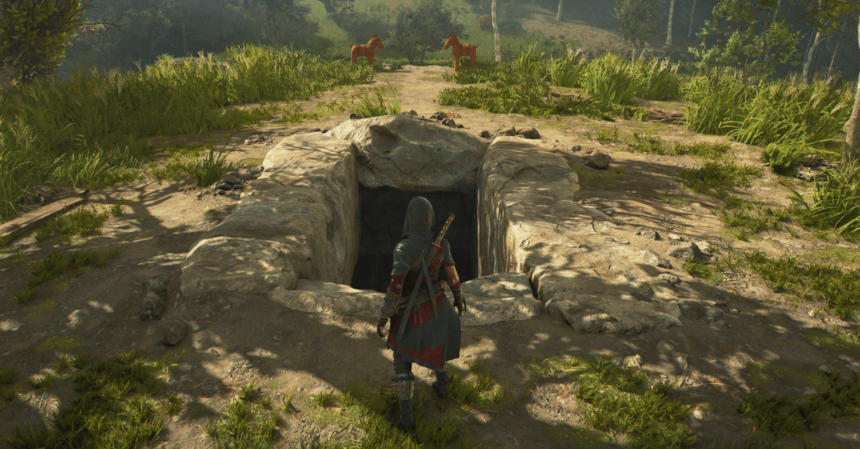
Historic Tomb of Nanjo walkthrough

Picture: Ubisoft Quebec/Ubisoft through game-feeds
Head down the steps and squeeze by the hole to enter the kofun. Within the first room, you’ll discover a small chest to the left of what appears to be like like a coffin. Seize it after which go to the sting of the cliff forward of you. Leap down into the water.

Picture: Ubisoft Quebec/Ubisoft through game-feeds
Climb out and comply with the trail ahead till you attain a big room with extra clay horses. You’ll see a ridge forward of you you could’t attain and a pool resting beneath it. That is your escape route, and also you received’t be capable to entry it simply but. As a substitute, discover the doorway to your proper that’s hidden in shadow.

Picture: Ubisoft Quebec/Ubisoft through game-feeds
Head down the steps and switch left.

Picture: Ubisoft Quebec/Ubisoft through game-feeds
Leap down into the pit beneath and seize the chest. Slide down the trail to the proper of the chest.

Picture: Ubisoft Quebec/Ubisoft through game-feeds
Take a left and enter the massive room.

Picture: Ubisoft Quebec/Ubisoft through game-feeds
Head down and use the wood platform as a leaping off level to succeed in the stalagmite columns within the water. Leap to the opposite facet of the wall. Use the wall to succeed in the opposite facet.

Picture: Ubisoft Quebec/Ubisoft through game-feeds
Run previous the pot and bounce into yet one more pool of water beneath. You’ll see one other pair of clay horses and a small tunnel that you simply’ll must go absolutely susceptible to crawl by.

Picture: Ubisoft Quebec/Ubisoft through game-feeds
Climb both of the staircases on the opposite facet of the tunnel. Enter the doorway on the high of the steps and switch proper. On the stack of boards forward of you, take one other proper earlier than taking an instantaneous left.

Picture: Ubisoft Quebec/Ubisoft through game-feeds
You’ll end up in a big cavern. Leap into the water beneath and climb up on the left wall. In your new platform, climb the column that’s embedded into the wall to succeed in the opposite facet from the place you got here in. Head by the doorway and bounce down for one more chest.

Picture: Ubisoft Quebec/Ubisoft through game-feeds
Head straight forward from the chest, taking the ahead path. Slide all the way down to the subsequent space and switch proper.

Picture: Ubisoft Quebec/Ubisoft through game-feeds
Stroll on the board and climb the stalagmite columns, which is able to carry you as much as one other elevated space.

Picture: Ubisoft Quebec/Ubisoft through game-feeds
Take a proper and maintain proper. Leap the hole utilizing the boards as a bridge earlier than climbing up once more. Sidle by the crack within the wall for a treasure chest, after which sidle again by to proceed the dungeon.

Picture: Ubisoft Quebec/Ubisoft through game-feeds
Use the board to your left (your proper now, in case you grabbed the chest) as a leaping off level to grapple the ceiling and swing over the chasm to the opposite facet, the place extra clay horses await. Head by the door and up the trail.

Picture: Ubisoft Quebec/Ubisoft through game-feeds
Issues get a tad much less apparent right here, relying in your brightness settings. You’ll see a pool of water in entrance of you, however ignore that. On the left wall you’ll see some handholds. Use them to climb up towards the ceiling.

Picture: Ubisoft Quebec/Ubisoft through game-feeds
Climb the steps while you attain the highest after which flip left.

Picture: Ubisoft Quebec/Ubisoft through game-feeds
Leap down into one other darkish pit. Seize the chest right here after which take the left path, the place what seems to be a clay canine is ready for you. Flip proper on the canine.

Picture: Ubisoft Quebec/Ubisoft through game-feeds
Climb up the steps and the wall, after which go susceptible to crawl by the outlet. You’ll run into much more clay horses while you emerge, in addition to a group of pots.

Picture: Ubisoft Quebec/Ubisoft through game-feeds
Flip proper on the pots and right into a room with one other pool. Leap to the stalagmite column nearest to you after which to the one after it. Use your grappling hook from right here to swing to the opposite facet of the room.

Picture: Ubisoft Quebec/Ubisoft through game-feeds
Head by the doorway and comply with the trail till it’s time to make one other proper flip.

Picture: Ubisoft Quebec/Ubisoft through game-feeds
Head by the crack within the wall to lastly attain the large treasure chest.
Historic Tomb of Nanjo rewards

Picture: Ubisoft Quebec/Ubisoft through game-feeds
Once you loot the chest in Historic Tomb of Nanjo, you’ll get the Yukimitsu’s Revenge legendary tanto for Naoe, which poisons your enemies and makes any enemies who turn into bothered by poison susceptible. You’ll additionally choose up a information level and 2,200 XP.
For extra Murderer’s Creed Shadows guides, see our operating lists of Misplaced Pages, Kuji-kiri, and armor places. Or see our full Murderer’s Creed Shadows walkthrough, and our guides on learn how to get all companions and romance choices.